*This post contains affiliate links, which means I will make a commission at no extra cost to you should you click through and make a purchase.
Sent! Check your inbox.
There are makeup techniques you learn on the internet, and then there are makeup techniques you learn in a room with someone who genuinely knows what they are doing. The difference is everything.
Lifestyle creator @enigivensunday recently attended a masterclass led by celebrity makeup artist PaintedbyEsther, one of the most recognised names in makeup for dark skin tones, and she came back with notes, products, and a blush application that stopped the entire comment section cold.
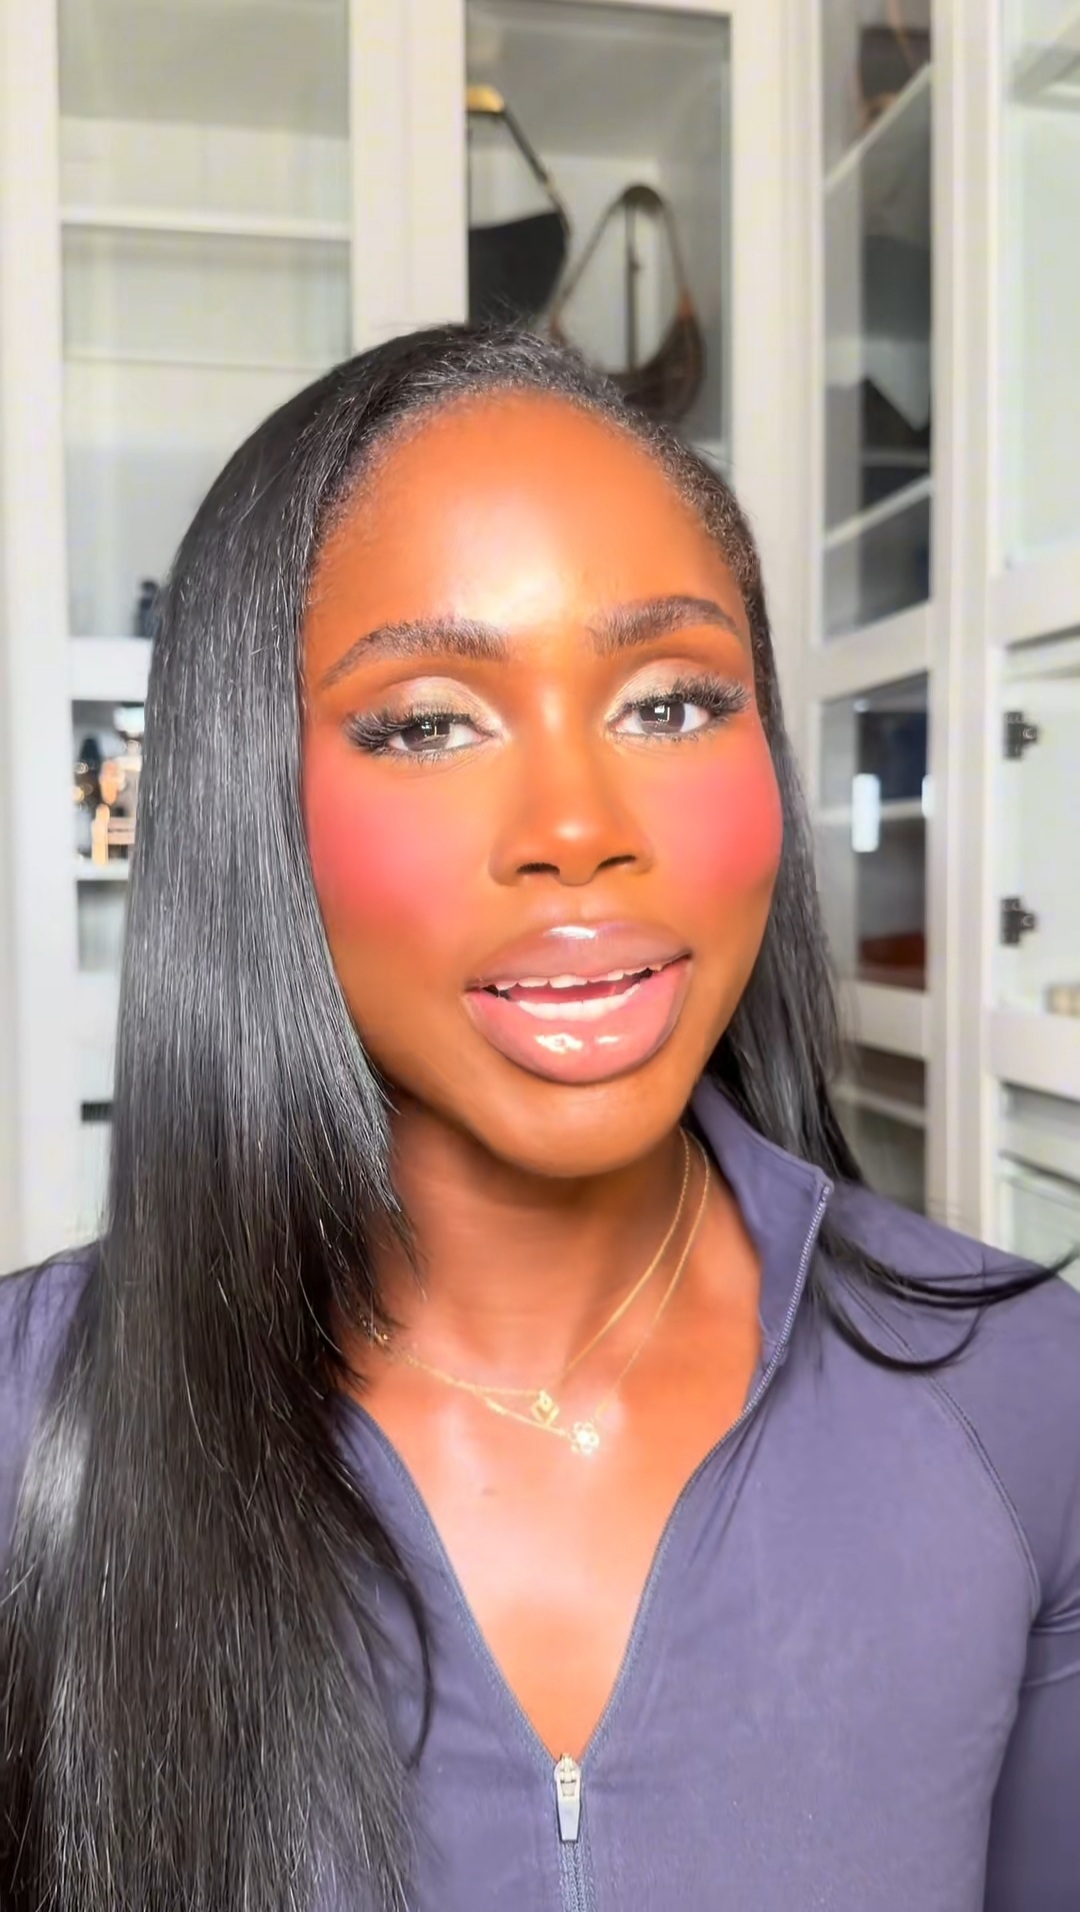
And everything is exactly what she delivers.
The technique in question is a layered, two-shade blush method that produces the kind of flushed, dimensional cheek colour that looks less like makeup and more like your skin decided to glow from within. It is specific. It is deliberate.
And once you understand why each step exists, you will never go back to swiping blush on with a single brush and calling it a day.
” I feel like the key is — if you think you’ve put on enough, you haven’t.”
@enigivensunday, quoting PaintedbyEsther’s masterclass
Before You Start, The Foundation of the Technique
PaintedbyEsther begins with cream products already on the skin. This is not a blush-on-bare-skin technique.

The skin needs to have that slight tackiness that cream products leave behind. That surface is what allows the blush to melt in rather than sit on.
It is designed to layer over a cream base, which gives the blush something to grip and blend into rather than sitting on top of dry foundation.
The next thing she told the class: you need two blush shades. Not one. Two, and they need to be specifically chosen.
“One that’s a darker, more muted colour, and one that’s a more vibrant, brighter colour,” @enigivensunday explains.
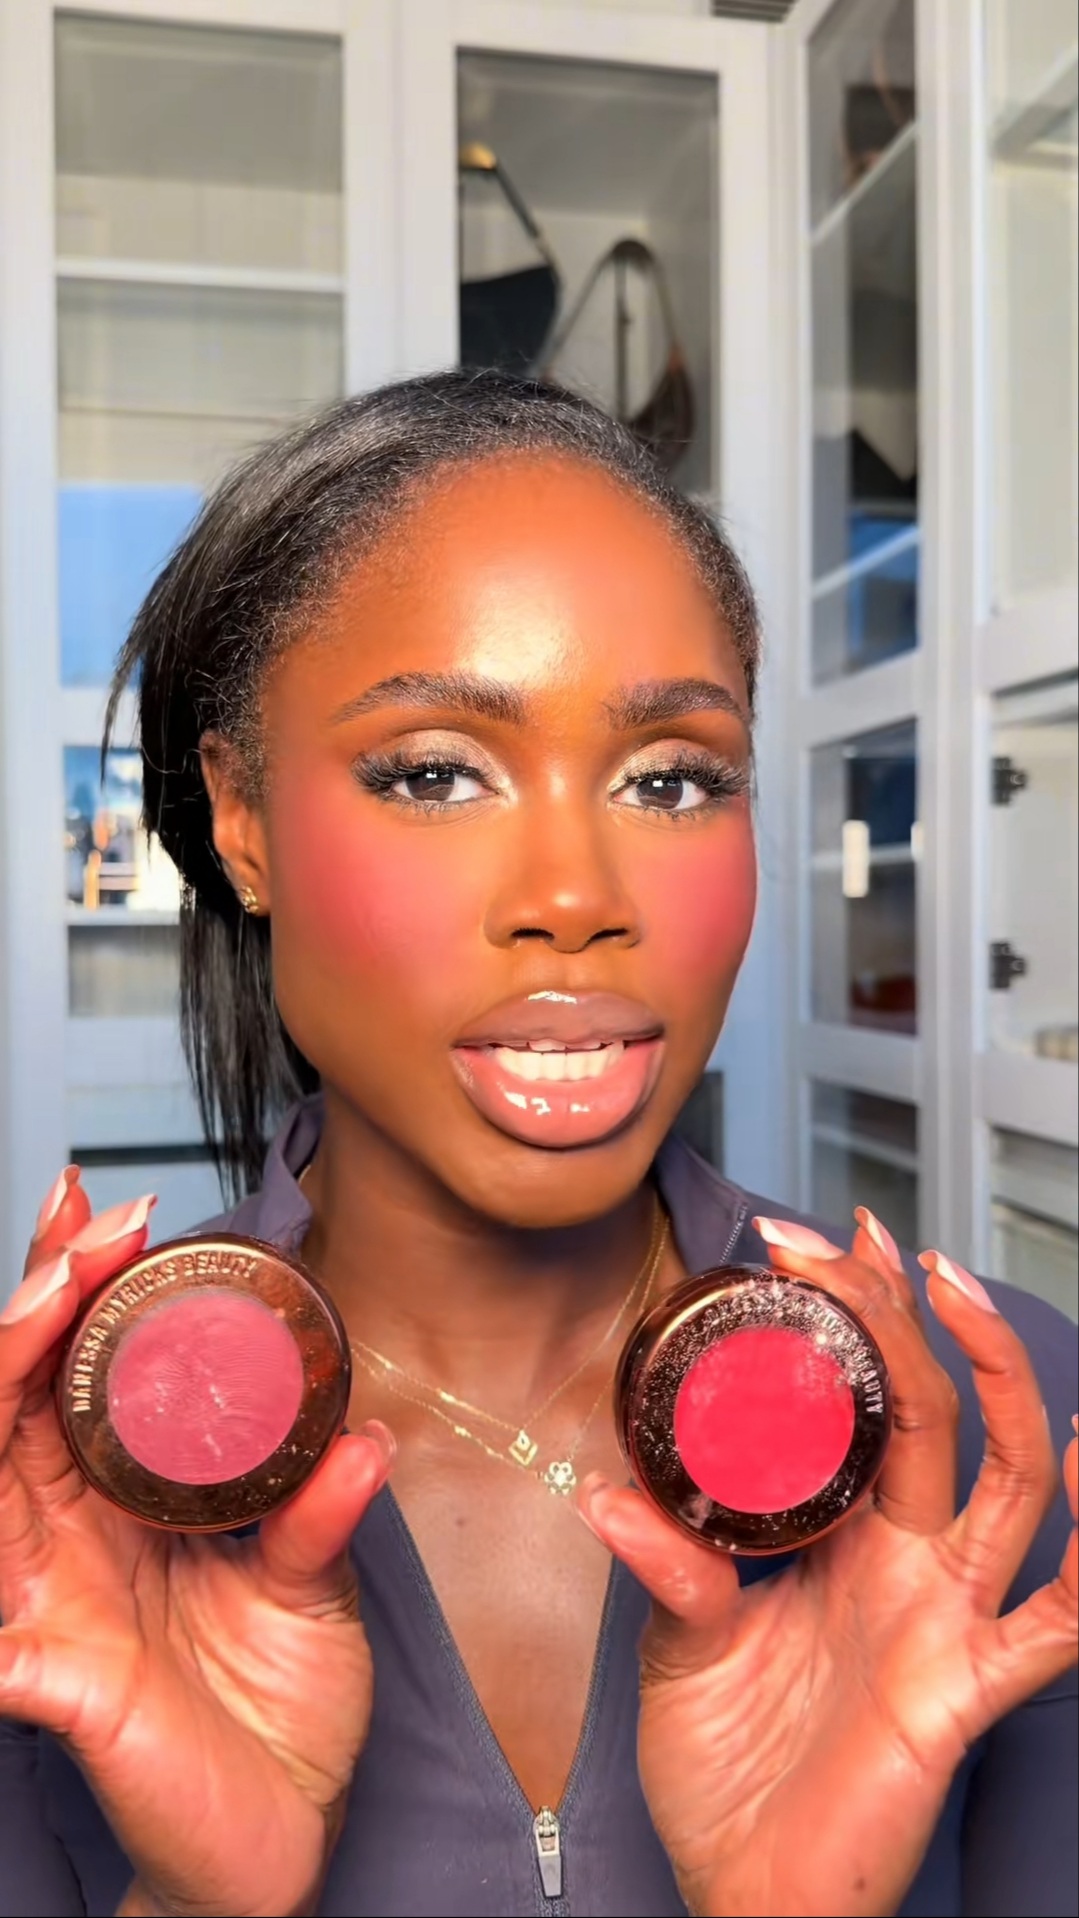
The muted shade builds the depth and warmth underneath. The brighter shade sits on top and creates that lit-from-within flush.
Together, they create dimension that a single shade simply cannot replicate.
Eni went with Danessa Myricks Beauty’s Dancing Queen and Prima Donna. This pairing on her deep skin tone produced results that were nothing short of stunning.
The 5-Step Blush Technique
01. First Blush · Large Fluffy Brush
Apply Your Darker Shade With a Large Fluffy Brush, and Tap, Never Swipe
The first surprise of the masterclass was the brush Esther reached for.
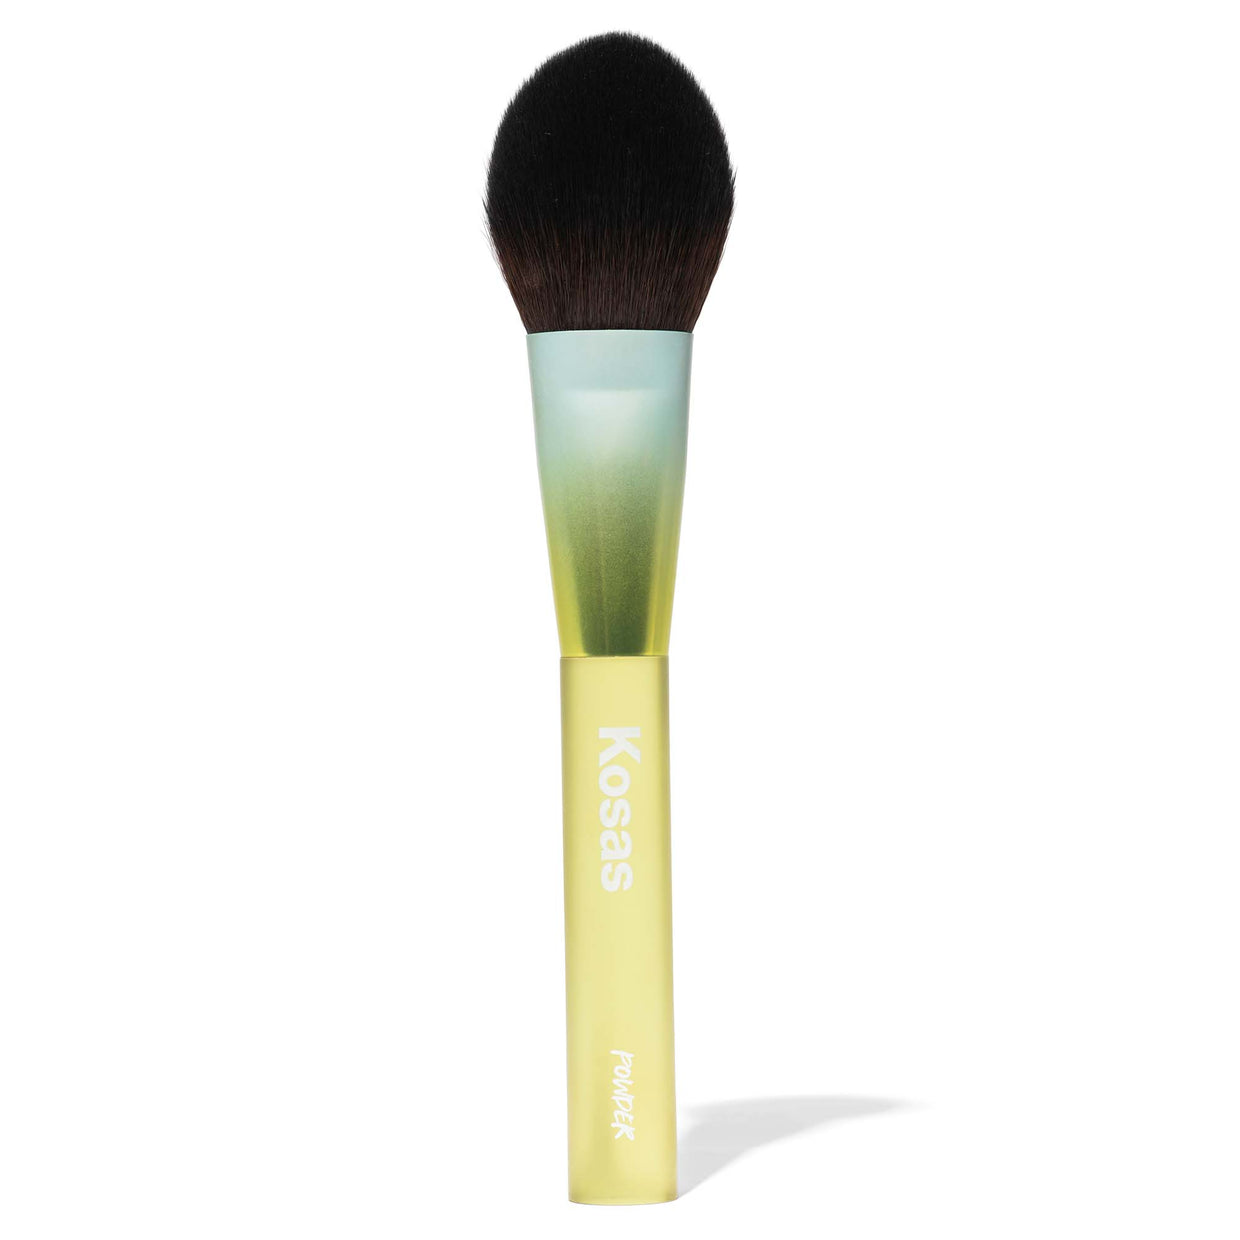
“Something that I thought was really interesting is that she actually uses a large fluffy brush to go in with the first layer of blush,” @enigivensunday notes.
Most people default to a small, dense blush brush but the large fluffy brush diffuses the product more evenly and prevents any harsh lines, which is especially important on deeper skin tones where patchy blush application shows up distinctly.

The application method matters just as much as the brush.
She poured a small amount of blush onto the back of her hand, then tapped the brush into it to evenly coat the bristles and warm up the product.
Then she tapped, not swept, not buffed, but tapped, the colour on, starting from the apple of the cheek and working back.
“She said that she didn’t like to go further than where your brow ended.”

That boundary keeps the blush from spreading into territory that muddies the look.
Light tapping motions (not sweeping or buffing) are what allow you to build the blush gradually without overloading one area. Each tap deposits a small, controlled amount of product. This is how you layer without patchiness. Do not be afraid to go back in multiple times.
🖌️ The Tapping Rule
02. Clean Up · Concealer + Powder Puff
Clean the Edges With Concealer, Then Blend With a Powder Puff, Not a Brush

Once the first layer of blush is on, Esther does something that completely reframes how you think about concealer in a makeup look.
Instead of using it only to cover blemishes or under-eye darkness at the beginning, she comes back to it mid-look to clean up the blush edges, specifically the inner corner near the nose and the under-eye area.
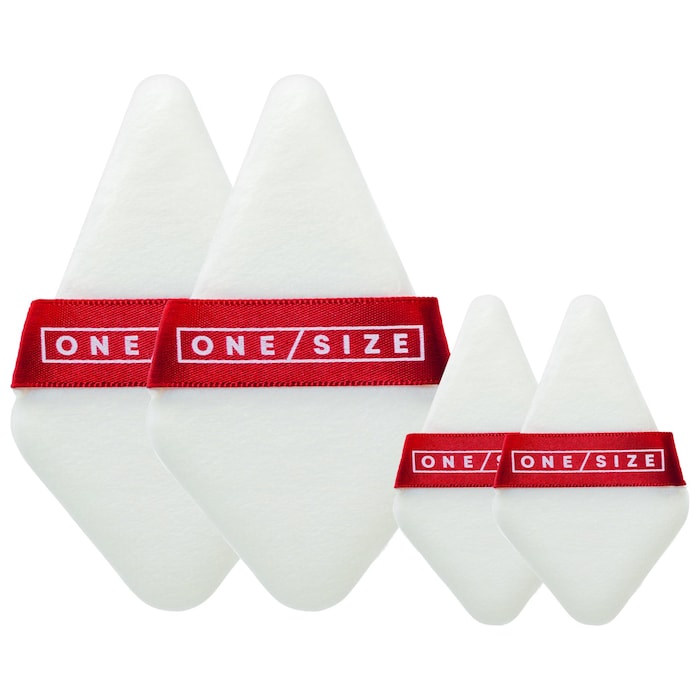
But here is the part that made the whole room pay attention: she does not use a makeup sponge or a concealer brush to blend it. She uses a powder puff.

“Say goodbye to your makeup sponge and your concealer brush because you do not need them for this step,” @enigivensunday says.
The powder puff presses the concealer into the skin rather than dragging or shifting it, which means it cleans up the blush edges without disturbing what is underneath.
“We asked her what is her most life-changing makeup tip, technique, hack. It was using the powder puff to blend the cream product.”
@enigivensunday
03. Second Blush · Powder Puff
Apply the Brighter Shade With the Other Side of the Powder Puff
Now comes the second blush: the brighter, more vibrant shade, and it goes on with an entirely different tool.
“You’re going to take that same powder puff, flip it over. This is what we’re going to use to apply the second blush,” @enigivensunday explains.

The powder puff deposits the second shade differently to a brush: it presses the colour directly into the skin with precision rather than dispersing it across a wide area. This is intentional.
The second shade is meant to sit on top of the first one and intensify it in the centre of the cheek, not spread out and dilute it.
Esther was emphatic about the pressure: “She said you really got to beat it into the product.”
This is not a gentle pat. It is a deliberate, firm press that ensures the pigment actually transfers. Then light taps on top to blend the edges. Layer, layer, layer.
04. Set · Pink Setting Powder
Set Everything With a Pink-Toned Setting Powder, on the Same Powder Puff
Setting the blush is the step that makes it last, but Esther is specific about what she uses to set it with.
Not a translucent powder. Not a pressed powder in your foundation shade.
A pink-toned setting powder that complements and enhances the blush rather than muting it.

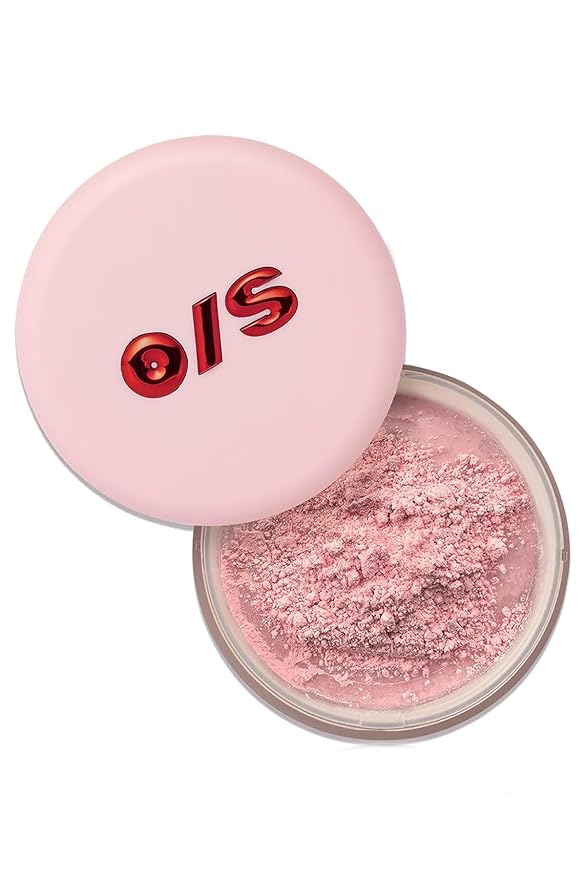
“She used a pink setting powder,” @enigivensunday confirms, noting she had two options: the One Size Ultra Pink and the Total Beauty Cherry Blossom Cake .
The application method is the same powder puff, flipped back to the concealer side, loaded with the setting powder and pressed (not dusted) onto the blush.
Pressing the powder in rather than sweeping it on ensures the blush stays exactly where it was placed.
It also locks the cream products underneath in place so everything sets together as one seamless layer rather than separate products sitting on top of each other.
At the end of the class, someone asked Esther whether she was a primer or skin prep girlie. Her answer was refreshingly direct: she believes in good skin prep above everything else. “Unless you are like performing or really, really going to be sweating, you don’t even really need primer or setting spray.” Skin that is well prepped and well moisturised is its own primer. Let that sit with you.
💡 On Primer and Setting Spray
05. Finish · Highlighter
A Touch of Highlighter to Finish, Then Put the Brushes Down
The final step is the one that takes the look from beautiful to fully alive.

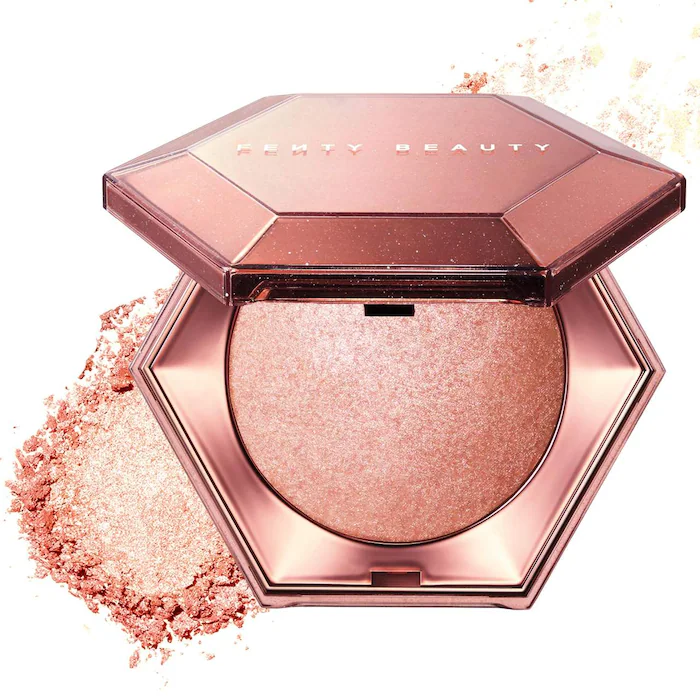
A light touch of highlighter. @enigivensunday reaches for Fenty Beauty, pressed or tapped onto the highest point of the cheekbone, just above where the blush sits.
It catches the light in a way that makes the whole cheek look three-dimensional rather than flat, and it ties together all the layering work done in the steps before it.
Then, and this is important, you stop.
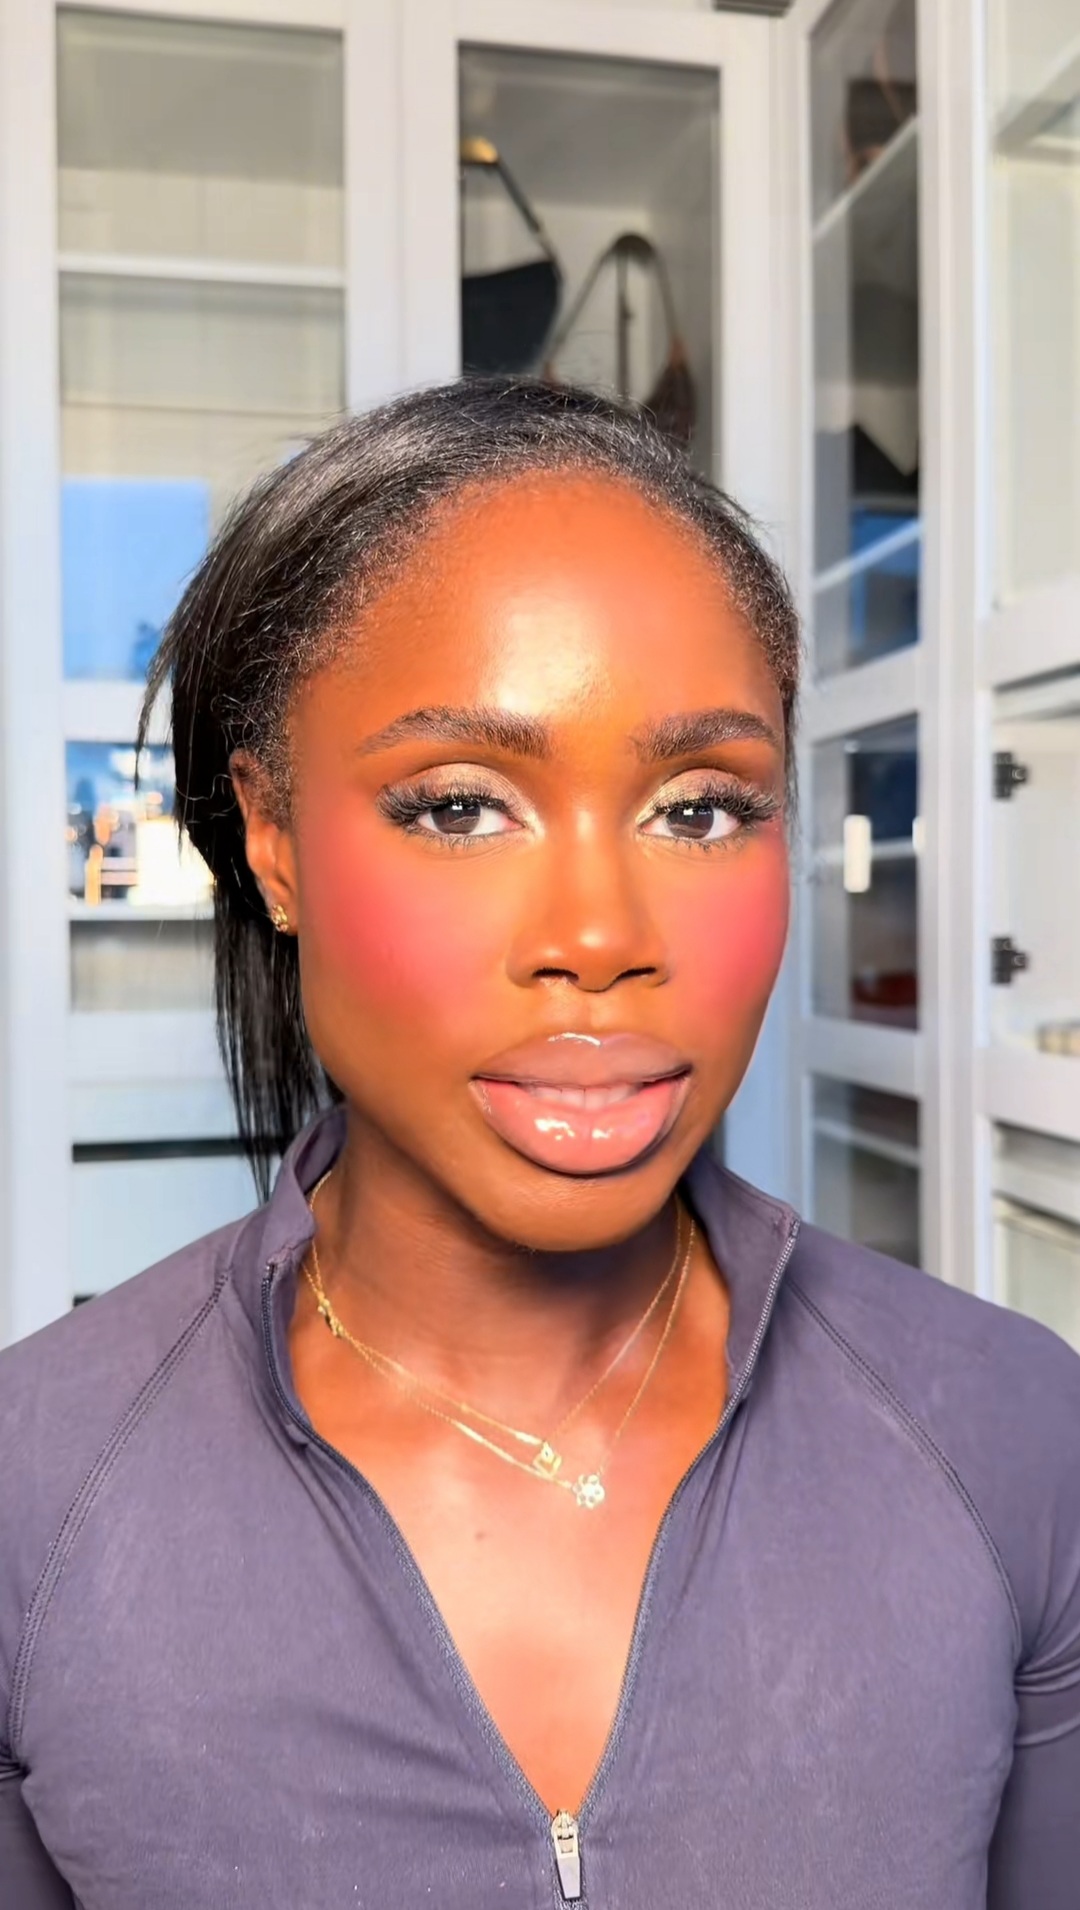
Knowing when to put the brushes down is its own skill, and with a technique this layered, the temptation to keep going is real. Resist it. The look is done.
The Products Used
Blush 01 · Darker Shade
Danessa Myricks Beauty — Dancing Queen

Blush 02 · Vibrant Shade
Danessa Myricks Beauty — Prima Donna

Concealer
Too Faced Born This Way Super Coverage Multi-Use Sculpting Concealer

Setting · Pink Powder
One Size Ultra Pink Setting Powder
Tool. First Application
KOSAS Fluffy Powder Brush
Tool. The Secret Weapon
ONE/SIZE by Patrick Starrr
Precision Setting & Baking Kite Powder Puff Set
Finish · Highlighter
Fenty Beauty Diamond Bomb All-Over Diamond Veil
The Takeaways — Everything You Need to Remember
- Start with cream products already on the skin. The blush needs that base to grip into.
- Always use two blush shades: one darker and muted, one brighter and vibrant.
- Apply the first shade with a large fluffy brush using light tapping motions. Start at the apple of the cheek, stop where the brow ends.
- Clean up the inner corner and under-eye edges with concealer blended out using a powder puff. Not a brush, not a sponge.
- Apply the second, brighter shade with the other side of the powder puff. Press it in firmly, then tap lightly to blend.
- Set everything with a pink-toned setting powder pressed on with the puff. Never swept.
- Finish with a light press of highlighter on the peak of the cheekbone.
- Layer more than you think you need to. If you think you’ve put on enough, you haven’t.
“You are definitely going to walk away with a mess on your hands, literally.
@enigivensunday
But I think it’s worth it.”
Looking at those results? We think so too.
Sent! Check your inbox.