*This post contains affiliate links, which means I will make a commission at no extra cost to you should you click through and make a purchase.
Sent! Check your inbox.
There was a time when blush was just a quick swirl on the “apples” of your cheeks before heading out the door.
But in the era of viral beauty hacks and “blush blindness,” we’ve learned that where you place your pigment is just as important as the shade itself.
Depending on where you tap, you can essentially “sculpt” your face without a drop of contour.
Whether you’re looking for a sharp, chiseled jawline or that youthful, “doll-like” fullness, your blush is your most versatile tool. However, the technique is everything.
To help us navigate these transformations, we’re looking to beauty creator Hailey Laine (@haileylainee), whose blush tutorial has demystified how a few simple taps can shift your entire aesthetic.
Ready to see how placement can shift your entire look? From lifted cheekbones to a sun-kissed glow, here are the four techniques you need to know.
1. The “L-Shape”: For Maximum Definition
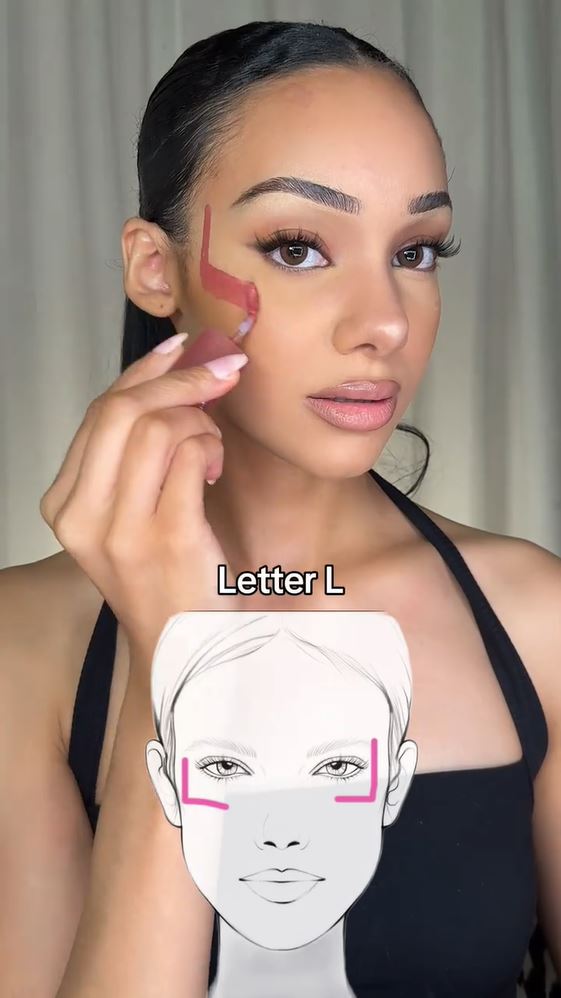
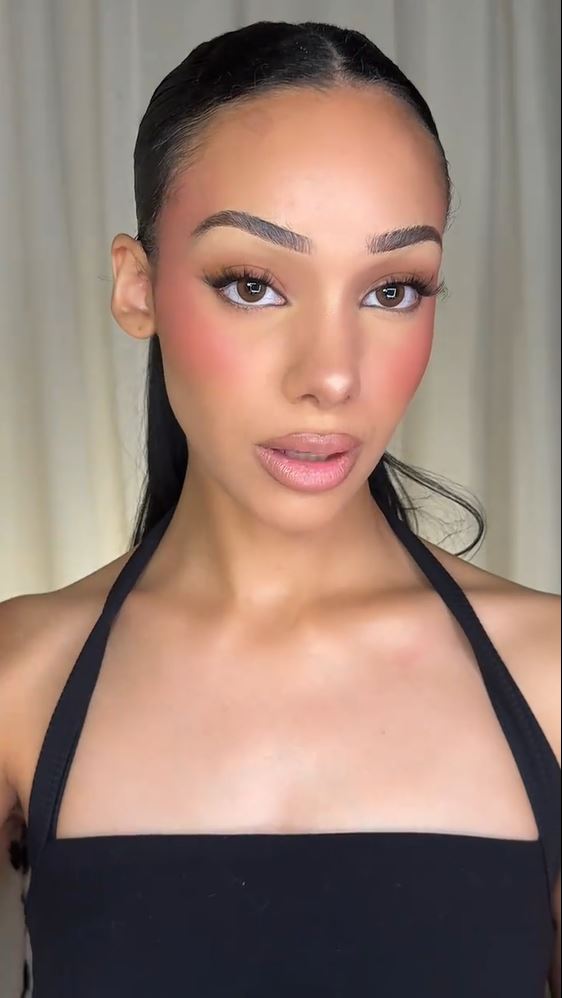
This technique is all about structure. By drawing an “L” from the temple down to the cheekbone, you create a sharp, angular frame for the face.
- The Technique: Trace an “L” shape starting at the temple and moving down towards the outer cheek.
- The Result: According to Hailey Laine, “This makes your face look more defined.” It acts like a natural contour, sharpening your features.
2. The “V-Shape”: For High Lift
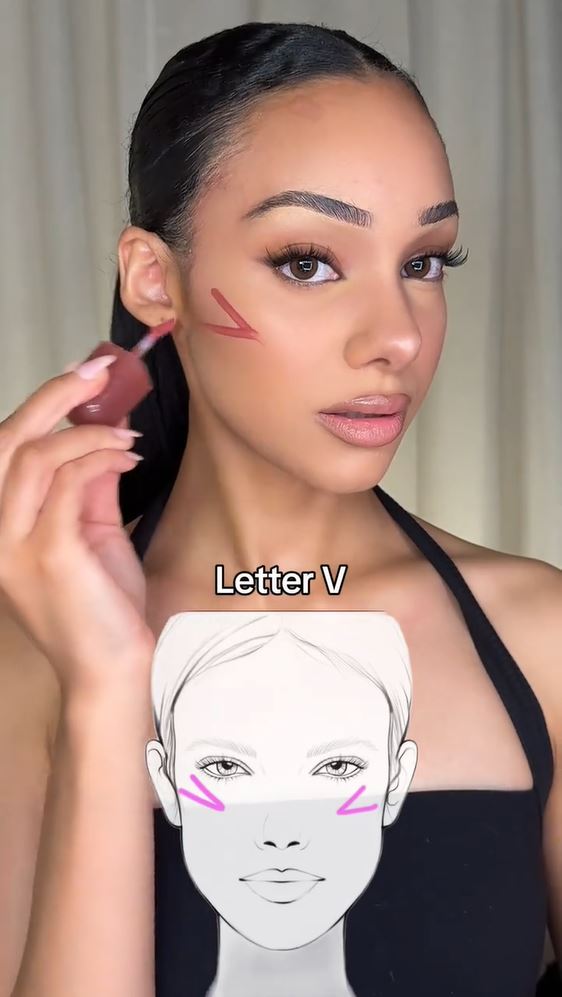
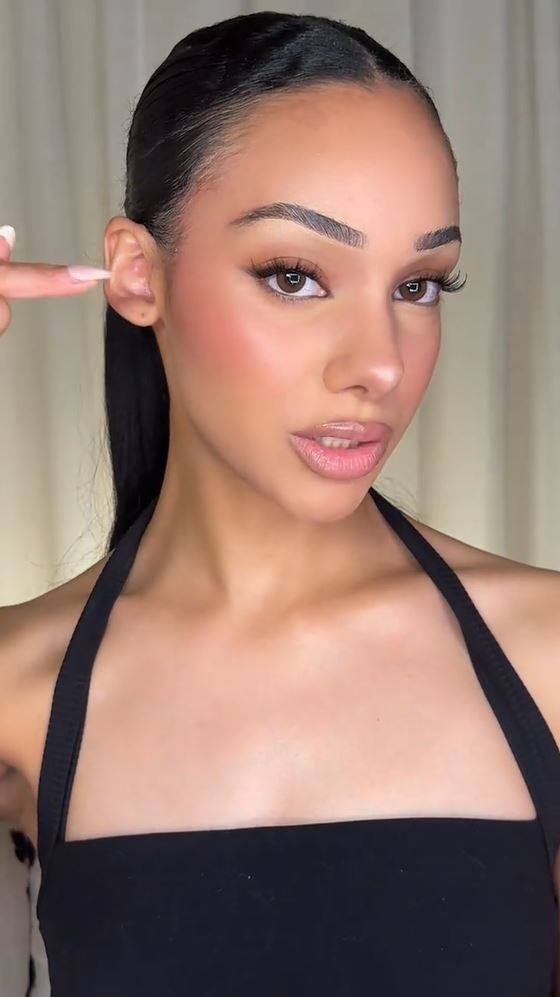
If you want that “snatched” editorial look, the V-shape is your go-to. It keeps the pigment high and tight against the orbital bone.
- The Technique: Draw a small “V” at the very top of your cheekbone, near the outer corner of your eye.
- The Result: “This makes your cheeks more lifted,” Hailey notes. It draws the eye upward for an instant lifting effect.
3. The “O-Shape”: For Plump Cheeks
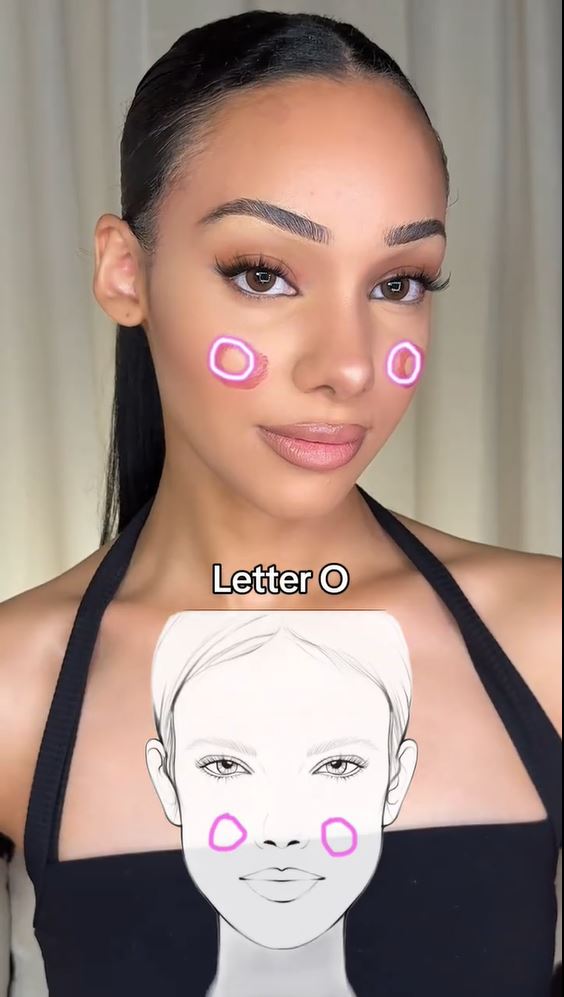
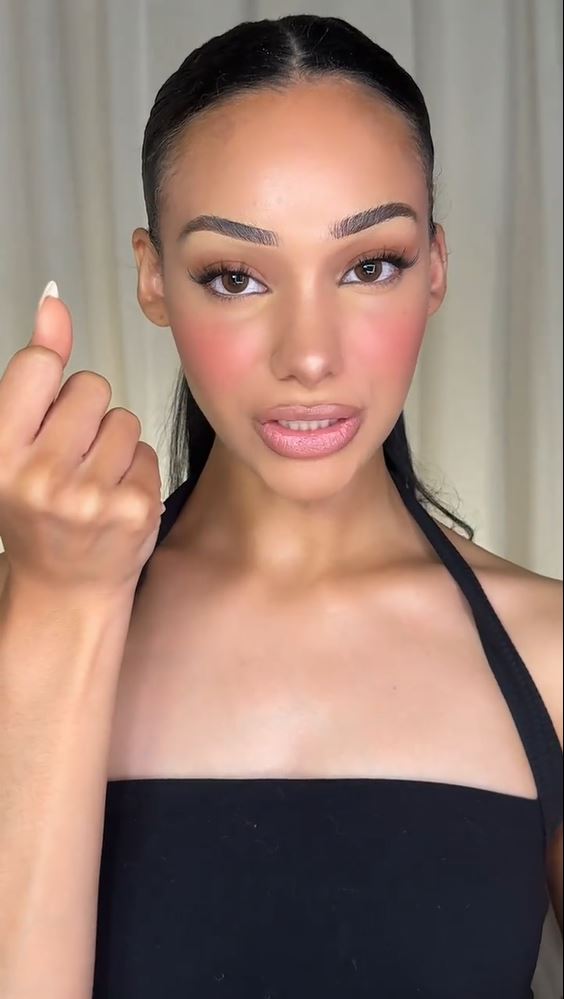
This is the classic “apple of the cheek” placement, perfect for a youthful, rounded appearance.
- The Technique: Apply the blush in a circular “O” shape directly onto the apples of your cheeks while smiling.
- The Result: Hailey explains, “This makes your cheeks more plump.” It adds volume and a healthy, “doll-like” fullness to the center of the face.
4. The “W-Shape”: For a Sunburnt Glow
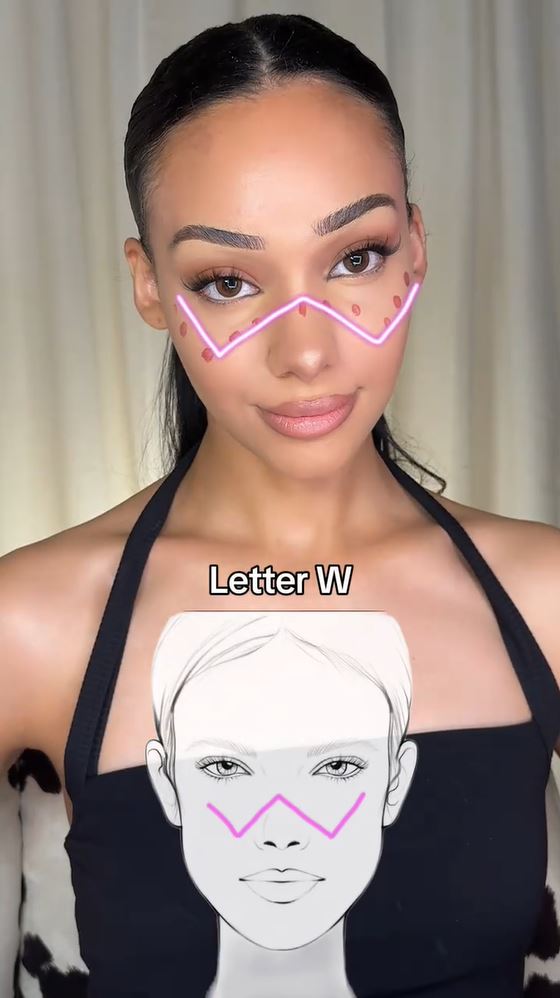
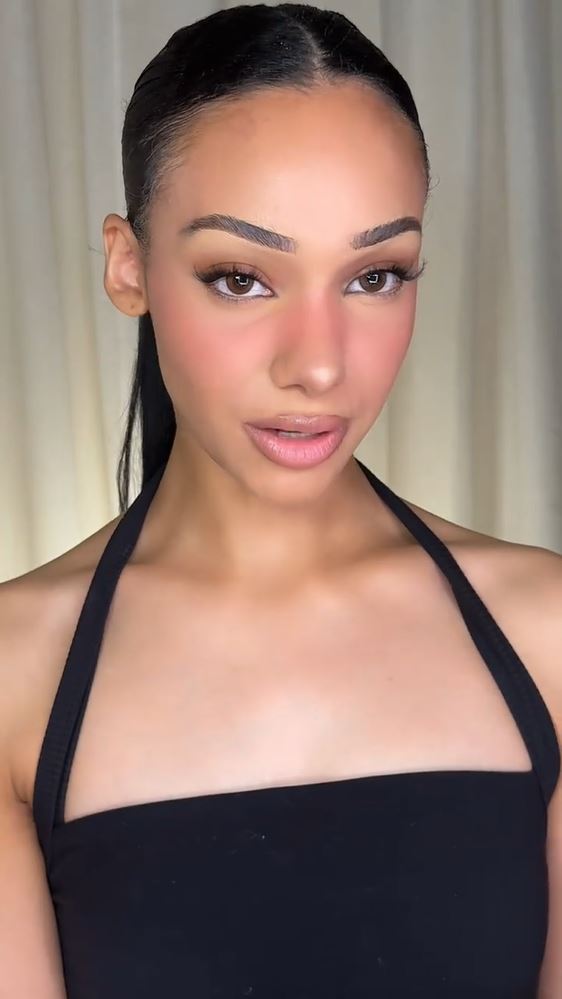
This trend mimics a natural day in the sun by connecting the cheeks across the bridge of the nose.
- The Technique: Draw a large “W” starting from one temple, dipping to the cheek, crossing the nose, and finishing on the other side.
- The Result: “This will give you the sunburnt look,” says Hailey. It’s the ultimate “just got back from vacation” vibe.
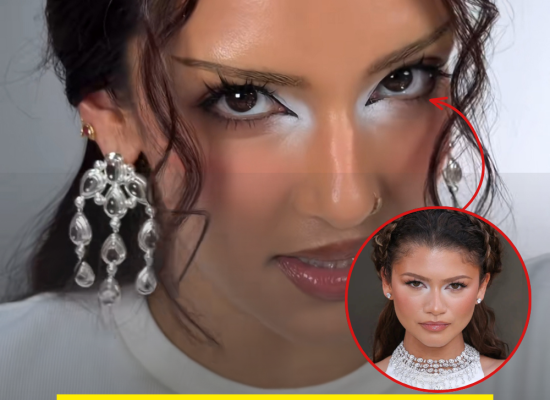
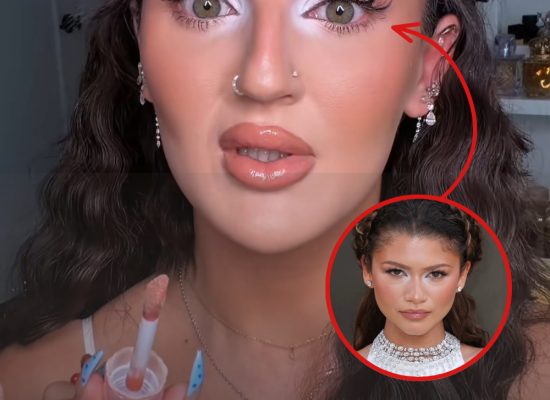
5. The Under-Eye Flush: “Blush Blindness”
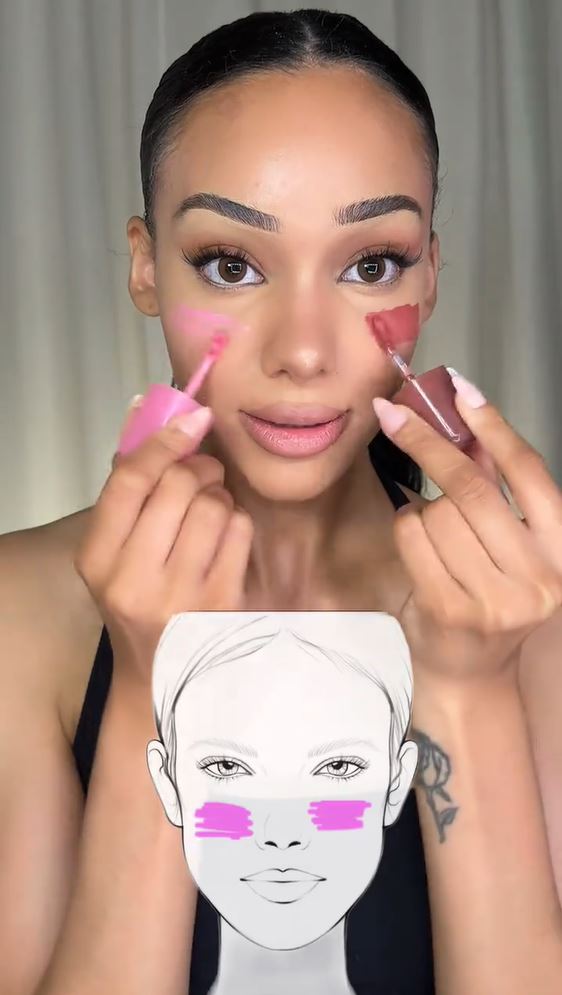
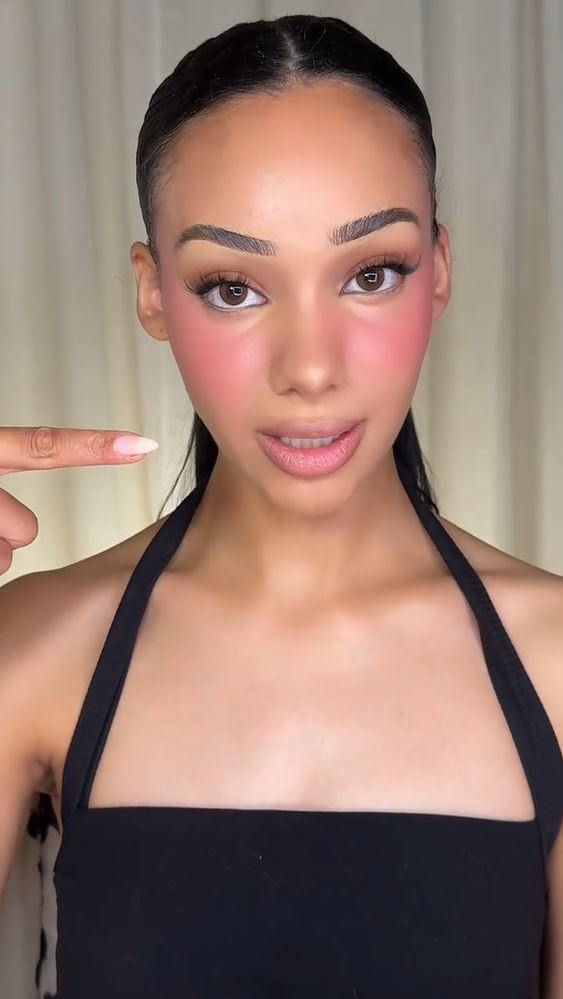
This final technique involves blending the blush directly into the undereye concealer area, a look that has recently sparked debate online.
- The Technique: Applying and blending blush high up under the eyes and across the lower lid.
- The Result: Hailey warns, “This, this is called blush blindness.” While trendy, it can often become overwhelming if you aren’t careful with the amount of pigment used.
You May Also Like: How to Master the K-Pop “Under-Eye” Blush Look
The Golden Rule: How to Properly Blend Your Blush
If you are looking for a more defined face, you should tap your blush and blend it upwards.
To achieve lifted cheekbones, simply tap the color onto the highest point of your cheek.
If you prefer fuller-looking cheeks, smile and use circular taps to build up the pigment.
Finally, if you want a sunburnt look, you should tap your blush in the shape of a “W” across your face and nose.
According to Hailey Laine, the secret to a flawless blush application is that you must “always tap and never drag” your product.
Shop Blush Essentials
Sent! Check your inbox.