*This post contains affiliate links, which means I will make a commission at no extra cost to you should you click through and make a purchase.
Sent! Check your inbox.
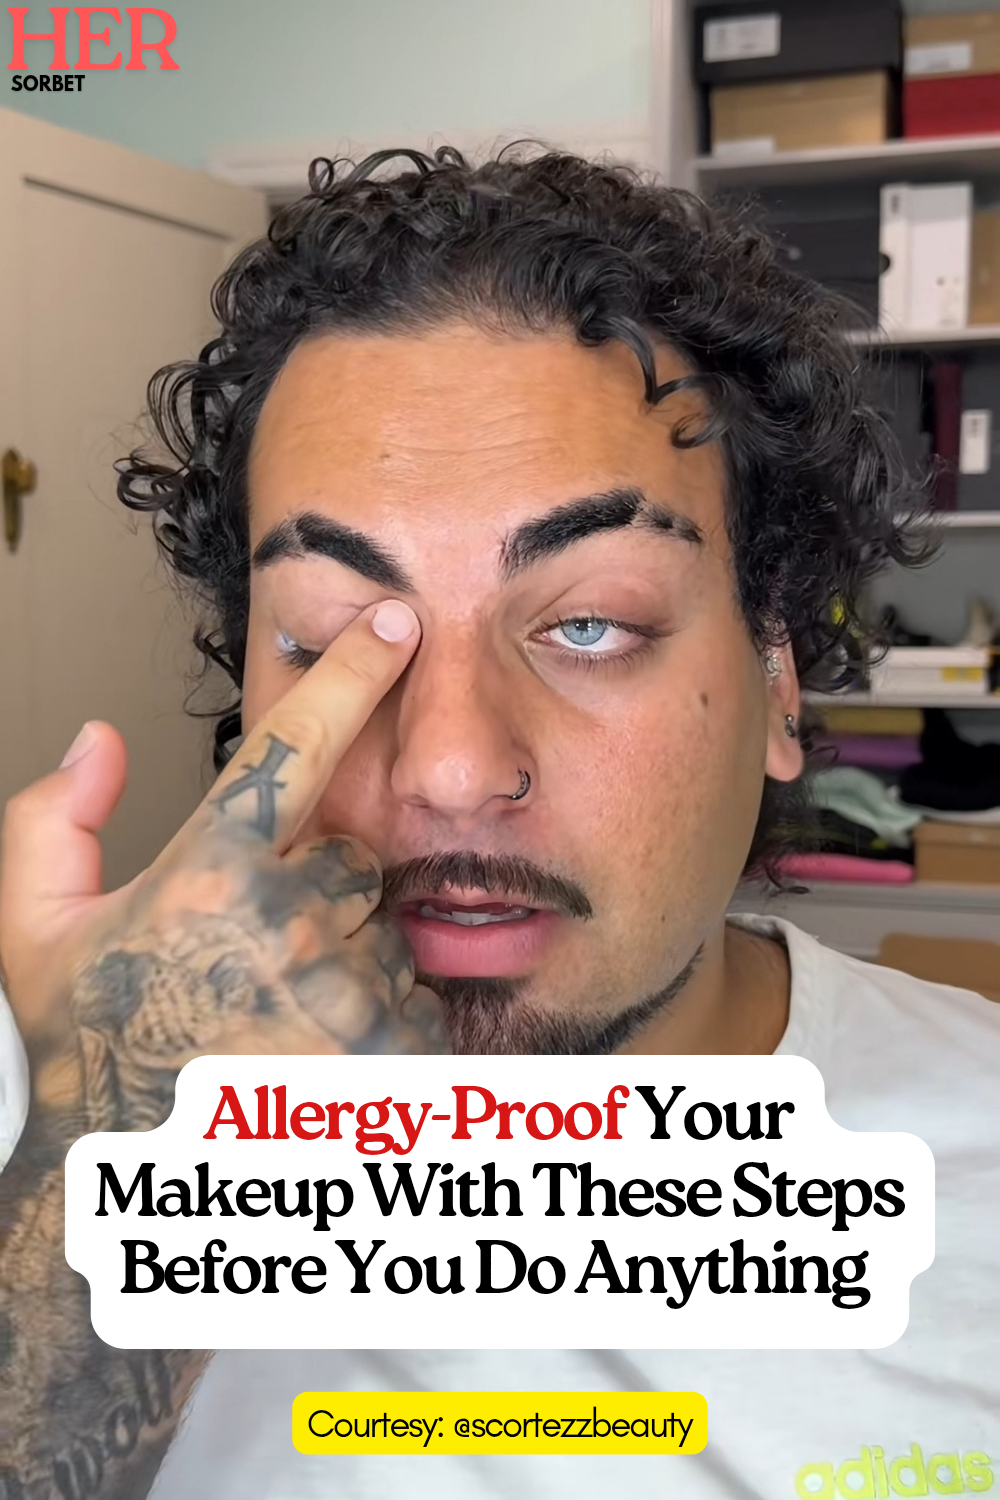
Watery eyes, a runny nose, redness that will not quit; allergy season is a full attack on your makeup. Pro MUA @scortezzbeauty breaks down exactly what to reach for, and where to apply it, so your look survives every sneeze.
Expert tips by @scortezzbeauty on TikTok
Allergy season does not care how long you spent on your base. It does not care that your concealer is perfectly blended or that you set everything twice.
The watery eyes start, the nose follows, and within the hour your carefully constructed look is halfway down your face.
Pro makeup artist @scortezzbeauty, who works with clients on red carpets, bridal days, and everything in between, has spent years solving this exact problem.
“Allergies are absolutely going to destroy your makeup,” he opens bluntly, “but here are a few little things that you can do to make sure that it is not that bad.”
A few little things that turn out to be very specific, very deliberate, and genuinely game-changing for anyone who has ever cried their liner off during pollen season.
The Step by Step Allergy-Proof Routine
Step 01 · Eyes First
Preservative-Free Eye Drops Before You Touch Any Product
The routine starts before a single drop of makeup goes on.
@scortezzbeauty’s first tool is eye drops, but not just any eye drops.
“These are the Optifresh Tears Lubricant Eye Drops and they are preservative-free because a lot of people do have allergies to the preservatives in eye drops.“
This detail matters more than most people realise: if your eyes are already reactive from pollen or dust, using a drop that contains preservatives you are sensitive to will make the situation actively worse.
Preservative-free drops soothe the irritation without adding another trigger.
Use them at the start of the routine to calm any existing redness and reduce the likelihood of tearing up mid-application.
Step 02 · The Secret Weapon
Bioderma Sensibio SOS Spray: The Product That Takes Away Everything

“The next product is an absolute godsend,” he says, holding up the Bioderma Sensibio SOS Spray.
“This will take away redness from like anything.”
He lists off the situations it handles: you drank too much: gone. Allergies: gone. Rosacea: calmed significantly. Sunburn: it will help.
“Get this and just give the face a very good spray.”
He uses it on all of his clients, specifically calling out bridal clients, “especially across the chest”, because pre-wedding nerves have a way of making the skin flush in all the wrong places at all the wrong moments.
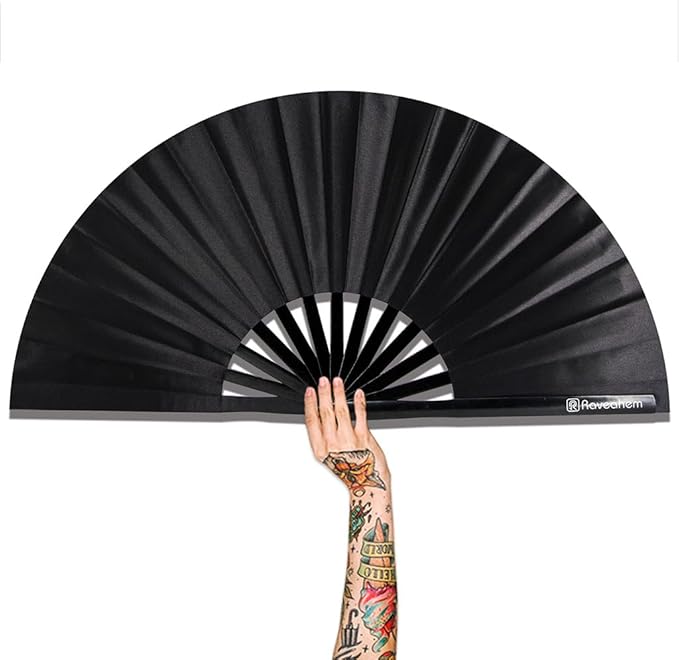
After spraying, he dries it down with a fan before continuing.
The SOS spray is so underrated! I had an allergic reaction (juice contained my nemesis kiwi, EpiPen was deployed) and it soothed my skin for days afterwards. My lips were too sensitive for creams and the spray was the only thing that helped.
💬 From the comments, Zantosa says…
Bioderma Sensibio SOS Spray

13″ Large Rave Fan Bamboo, Folding Clack Hand Fan
Step 03 · The Prep No One Thinks About
Blow Your Nose Before the Makeup Goes On
This one is unglamorous but non-negotiable.
After the spray has dried, go ahead and “get your client or yourself to blow your nose.”
And the logic is sound: the area around the nose is one of the highest-risk zones for makeup migration during allergy season.
Clearing it out before you apply anything means the products you put on top have a clean, dry surface to adhere to rather than working against active congestion from the start.
Step 04 · The Ultimate Secret Weapon
Waxy Eyeshadow Primer and Not Just on the Eyes

“Now the ultimate secret weapon, you want a good waxy eyeshadow primer.”
He reaches for the Glamraider High Impact Eyeshadow Primer, specifically because of how exceptionally waxy it is.
“It is so, so waxy that I do not have an issue.”
An alternative he shares for this is the NYX Eyeshadow primer.
But here is where the technique diverges from anything you have been taught before: he is not putting this primer just on the lid.
“We are putting this on the outside of the eye, on the inside of the eye. We are putting this around the nose, underneath the nose, and all around the nostril.”

The reason is precise: “These are the areas that leak. These are the areas that are going to cause you the utmost issues.”
By applying a waxy primer to every leak zone on the face, he creates a hydrophobic barrier, and that word is the key.
“Wax is hydrophobic. It is going to ensure that any sort of bodily fluid is not going to cling to the area, which means you can just dab it off very, very easily.”
Will it stop makeup from coming off when you blow your nose? No.
“What it’s going to stop it from is coming off when you have tears. It’s going to stop it when you have snot. It’s just going to help a lot.”
That is the honest, realistic promise, and in the context of allergy season, it is everything.
NYX PROFESSIONAL MAKEUP Ultimate Shadow & Liner Primer

Step 05 · Final Set
Powder Well, and Do Not Skip the Leak Zones
Now, “make sure you powder well and you are not going to have as many issues with your allergies ruining your makeup.”
Powder on top of the waxy primer areas creates an additional barrier and helps absorb any excess moisture that does break through.
The combination of hydrophobic wax underneath and powder on top is the closest thing to genuinely allergy-proof makeup that exists without prescription-grade products.
What makes this routine different from every other “long-lasting makeup” tip you have come across is that it addresses the biology of the problem rather than just layering more product on top and hoping for the best.
Preservative-free drops for reactive eyes. A medical-grade spray for skin inflammation. A hydrophobic primer for the exact spots where moisture escapes. And powder to lock it all in.
@scortezzbeauty recommends doing “all these steps before your face primer.”
Sent! Check your inbox.