
*This post contains affiliate links, which means I will make a commission at no extra cost to you should you click through and make a purchase.
Sent! Check your inbox.
Have you been eyeing those glowy, gradient “aura nails” all over your FYP and assumed you’d need an actual airbrush machine to pull it off?
Same. Turns out, that’s not the case at all.
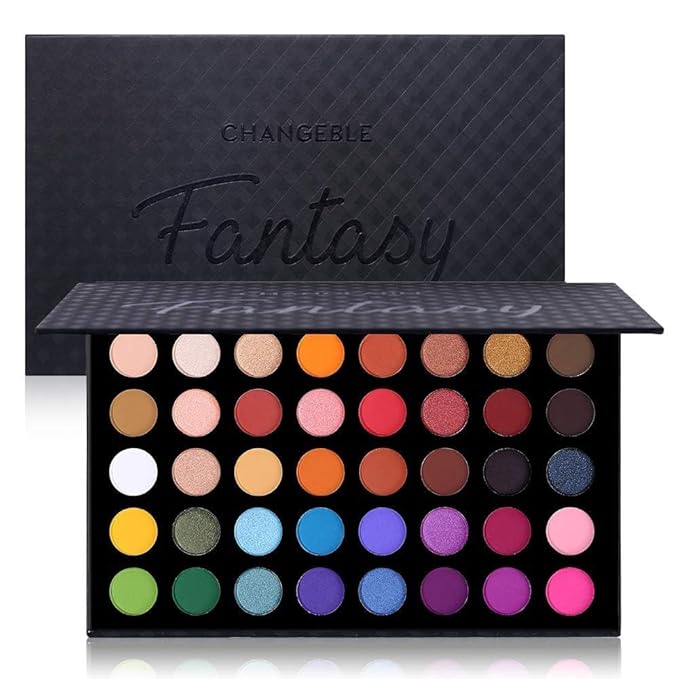
Nail artist Asia is here to prove that this viral nail trend is way more accessible than it looks, and the secret weapon is something you probably already own: an old eyeshadow palette.
Aura nails are that dreamy, blurred-color-gradient manicure that looks like it was airbrushed on by a professional.

It has become one of the biggest nail trends of the season, especially heading into fall and spooky season, when warm sunset tones and moody color-blends feel extra fitting.
But most of us don’t own an airbrush setup, and honestly, we don’t want to.
That’s exactly why this hack is going viral; it’s low-cost, low-effort, and beginner-friendly.

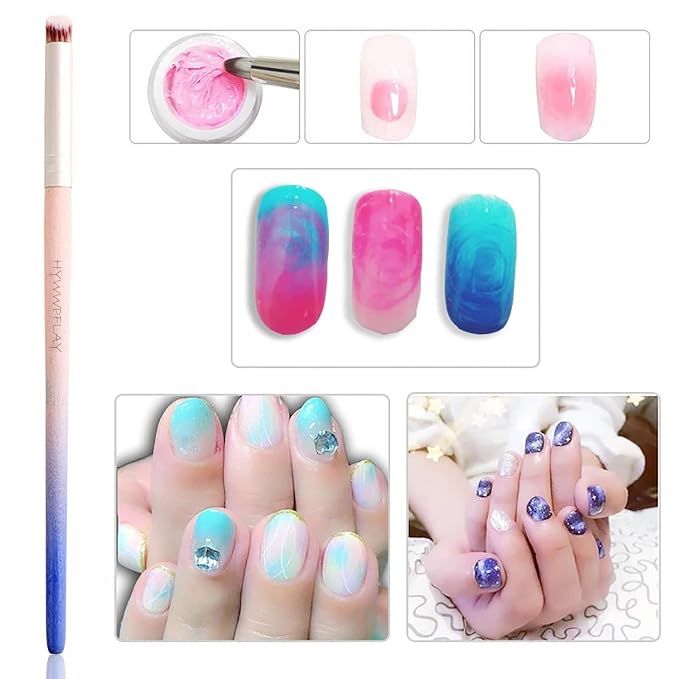
The genius part of this technique is that it swaps out expensive airbrush equipment for a dense eyeshadow brush and pigment you’re pressing directly into your nail.
Asia explains the logic behind the process: on a dark base, bright eyeshadow pigments won’t show up true to color, so you have to create a lighter canvas first.

“The white eyeshadow is basically like bleaching your hair before you dye it pink.”
Asia, TikTok
In other words, skipping that white base step is basically the nail version of trying to get a pastel dye job over dark, unbleached hair.
It just won’t show up the way you want it to.
You May Also Like: Coral Nails Are the It-Girl Manicure Bridging Summer and Fall! Check Out These 50+ Designs
The Step-by-Step Tutorial
1. Paint and Cure Your Base
Start with your base coat and cure it for a full minute before moving on.
2. Add a Matte Top Coat
Apply any matte top coat you have on hand and cure that layer for a full minute too.
This is the layer the eyeshadow is actually going to grip onto, so don’t skip it.
3. Lighten the Background First (If You’re on a Dark Base)
If you’re working on a dark background like Asia is for this demo, you need to lighten things up before adding color.
Pack white eyeshadow onto the nail first to create a blank canvas so your vibrant shades actually pop instead of getting muddied by the dark base underneath.
4. Pack In Your Colors
Now for the fun part.
Using a small, dense eyeshadow brush, scrub your vibrant eyeshadow shades into the nail.
Asia stresses that you really have to work the pigment in and blend it with the surrounding colors to get that soft, airbrushed gradient rather than harsh lines.
“In order to get that vibrant aura effect, you really need to scrub this into your nail.”
Asia, TikTok
5. Work Light to Dark
Apply your shades starting with the lightest color and working toward the darkest. This keeps everything looking clean and vibrant instead of turning into a muddy blend.
6. Dust Off the Excess
Once your color is packed in and blended, dust away any excess loose pigment from the nail.
7. Seal and Repeat (If Needed)
Apply another layer of matte top coat and repeat the color steps again for a more vibrant, richer finish.
Asia notes that this double-layer process is only necessary because she’s demonstrating on a dark background.
If you’re working with a white gel base instead, you only need to go through the color steps once.
You May Also Like: The Y2K Nail Revival Is Here, and Freestyle Is the New Rulebook! Here are 50+ Designs To Try

And that’s really it.
No airbrush, no professional training, just a dense brush, some patience, and eyeshadow that’s probably been sitting untouched in your collection for months.
“I know we all have old eyeshadow palettes lying around, so why not dust them off and put them to good use on your nails?”
Asia, TikTok
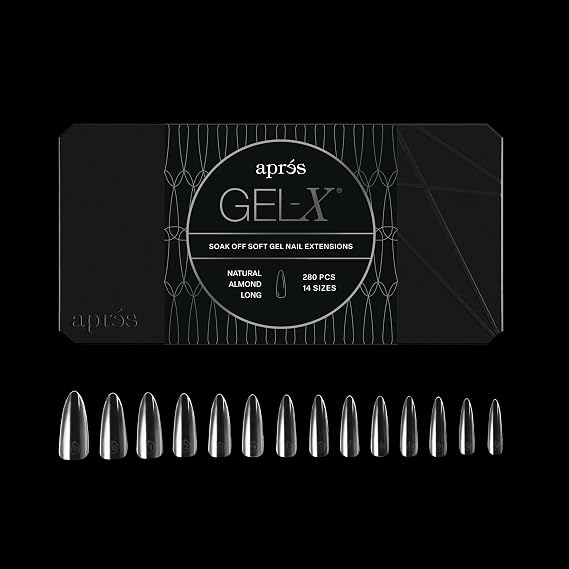
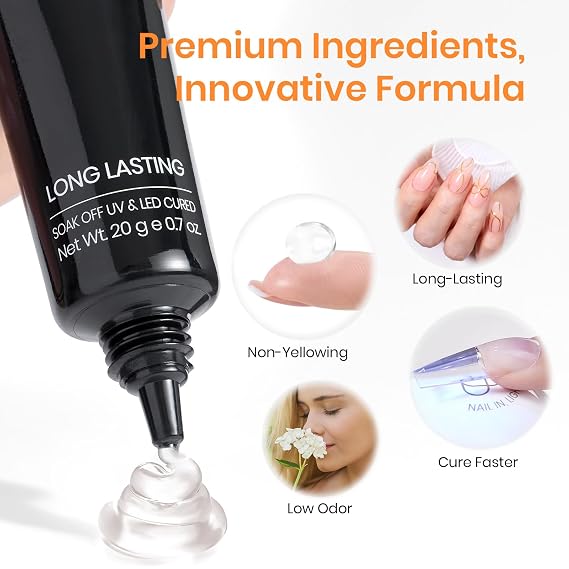
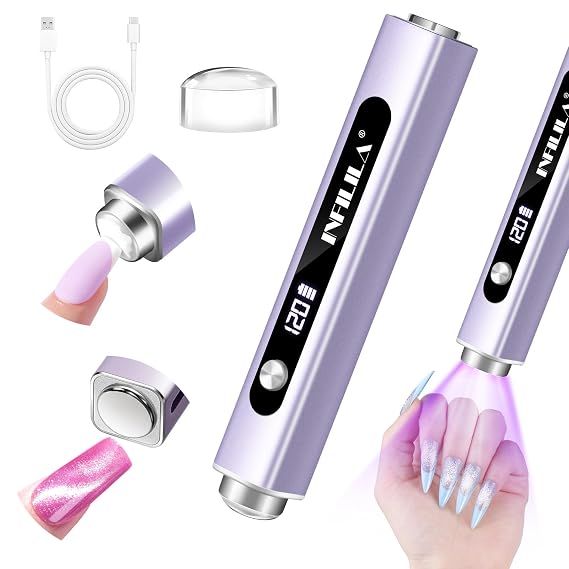
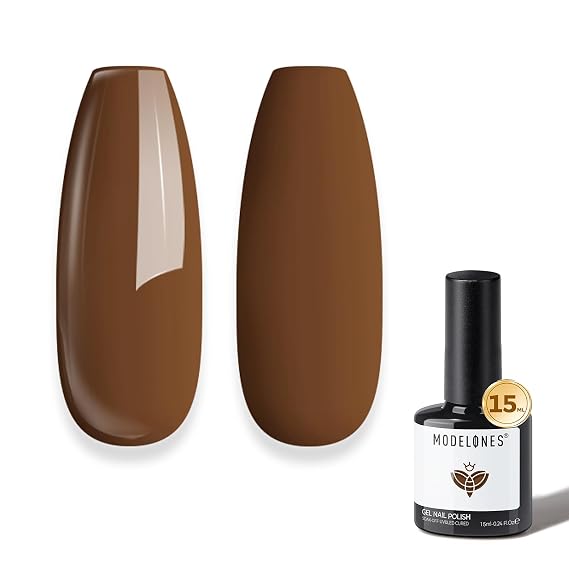
What You’ll Need



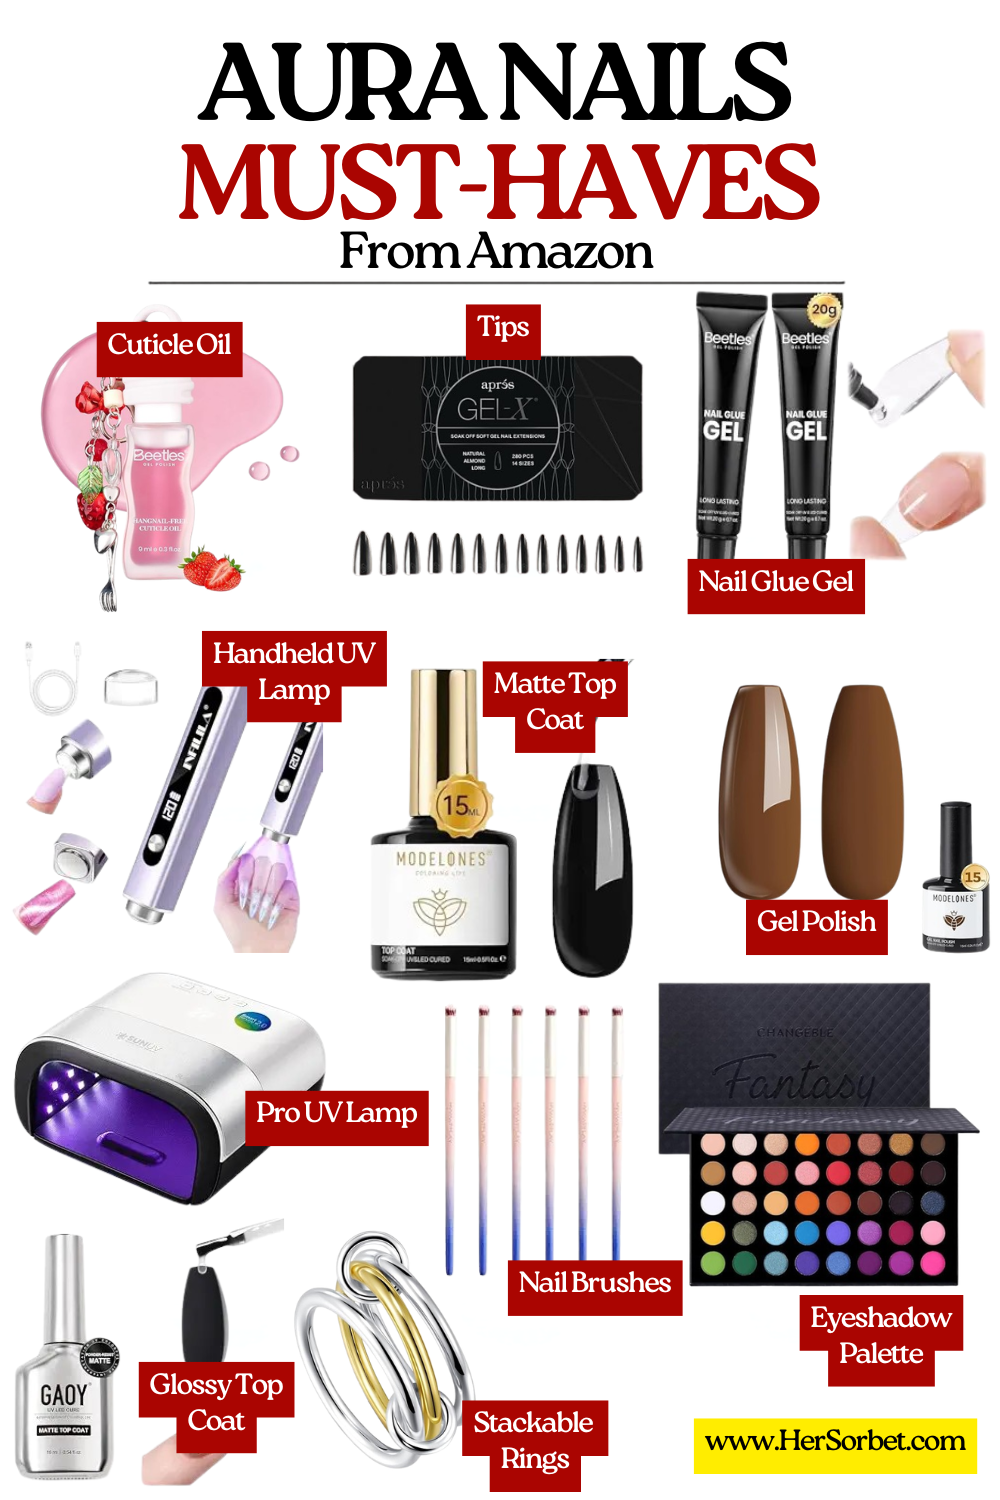
Need Inspo Before You Try It Yourself? Scroll Our Favorite Aura Nail Looks
 Courtesy: @julzfamousbling
 Courtesy: @apostolidoueleni_
 Courtesy: @curedbyjae
 Courtesy: @nailsby.savi
 Courtesy: @nails_by_arlene
 Courtesy: @3615_zbobinails
 Courtesy: @blossomedbycasey
 Courtesy: @beautyybyvivi
 Courtesy: @nails_by_jennymia
 Courtesy: @heapsgoodnails
 Courtesy: @curedbyjae
 Courtesy: @mo.money.nails
 Courtesy: @anailaddictt
 Courtesy: @nailsxodalis
 Courtesy: @heapsgoodnails
 Courtesy: @nailsxanalysse
 Courtesy: @nailsxodalis
 Courtesy: @avaathelabel
 Courtesy: @duchessdidem
 Courtesy: @npzbeauty
 Courtesy: @shortyygotnailz
 Courtesy: @nailsxanalysse
 Courtesy: @loveleenailsxo
 Courtesy: @loveleenailsxo
 Courtesy: @glossytipped
 Courtesy: @meraki_cbus
 Courtesy: @glossytipped
 Courtesy: @stunningnailss
 Courtesy: @glossytipped
 Courtesy: @dudaribeiro.designer
 Courtesy: @glossytipped
 Courtesy: @liisluxestudio
 Courtesy: @miaminailstudio
 Courtesy: @polishedbytaliah
 Courtesy: @savsnailstudios
 Courtesy: @_nailssbymiranda
 Courtesy: @nails_by_arlene
 Courtesy: @dovenailsbysharon
 Courtesy: @nailsxanalysse
 Courtesy: @artsysere
 Courtesy: @klawsbysonia
 Courtesy: @glossytipped
 Courtesy: @glossytipped
 Courtesy: @glossytipped
 Courtesy: @npzbeauty
 Courtesy: @manisbyash
 Courtesy: @brushedbyb_
 Courtesy: @sherlinanym
 Courtesy: @lightslacquer
 Courtesy: @albanails__
 Courtesy: @mariavinails
 Courtesy: @minea.nails
 Courtesy: @julzfamousbling
 Courtesy: @santamarianailss
 Courtesy: @housee.naill
 Courtesy: @klawedbykayd
 Courtesy: @hotspicynailz
 Courtesy: @kimchinailz
 Courtesy: @julzfamousbling
 Courtesy: @humbliztic_nailz
 Courtesy: @tus.manos.hablan
 Courtesy: @cocojasnails
 Courtesy: @cocojasnails
 Courtesy: @tymelessnails
 Courtesy: @nailedbyvicx
 Courtesy: @thaisruynails
 Courtesy: @hellomegannails
 Courtesy: @thenailconnection
 Courtesy: @thenailconnection
 Courtesy: @thenaillologist
 Courtesy: @nailzbymyaaa
 Courtesy: @323.cherry
 Courtesy: @flexanails
 Courtesy: @mimilesnails
 Courtesy: @thenailconnection
- Courtesy: @trenvynails
 Courtesy: @liisluxestudio
 Courtesy: @thenaillord
 Courtesy: @_nailssbymiranda
Once you’ve got the technique down, the only real decision left is picking your palette.
From sunset-toned oranges and reds to moody blues and purples, above are some of our favorite aura nail looks to save for your next set.
You May Also Like: Your Nails Will Get a Disco Makeover With These Sparkly Discoball Designs Made to Party
Sent! Check your inbox.


